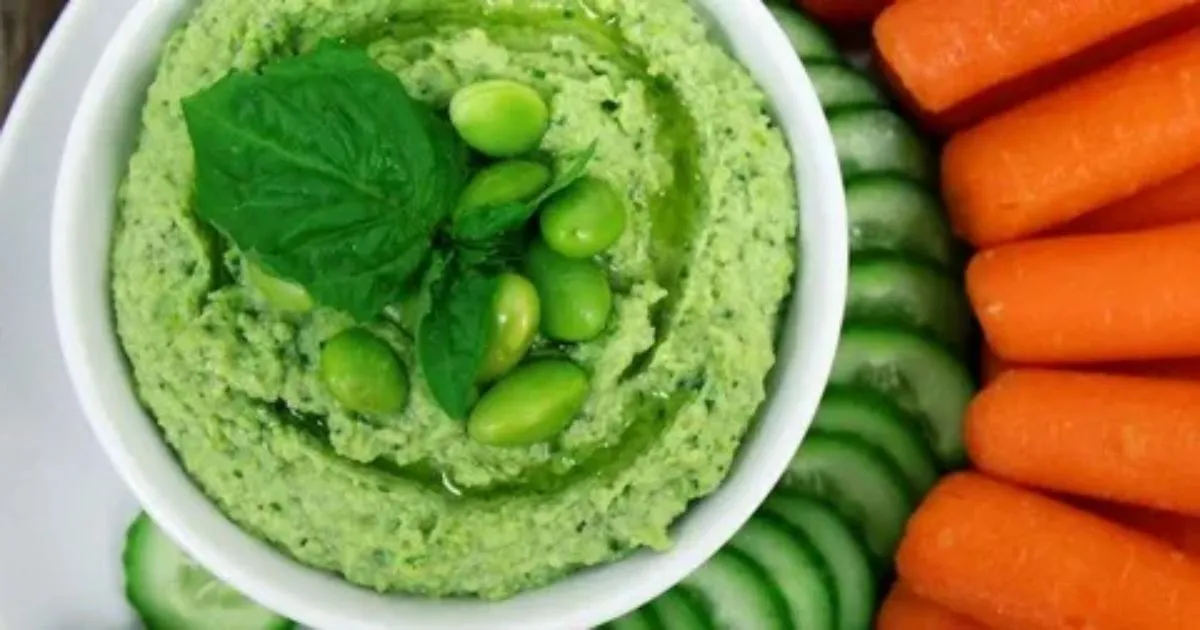
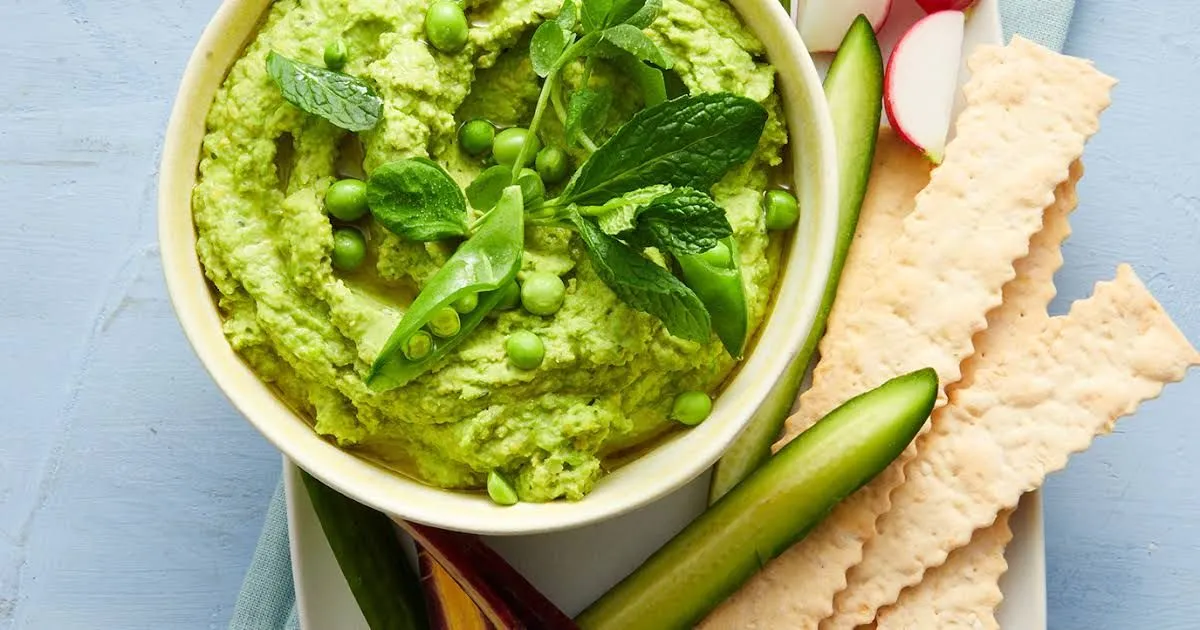
When ready to use in place of store-bought, homemade no-food-processor hummus can be served as a snack or appetizer with fresh vegetables and pita bread. The flexibility of recipes and possibility for unique flavor twists make this satisfying spread something to add to any foodie’s repertoire. With simple ingredients and techniques, tasty hummus awaits no matter the limitations of one’s kitchen tools.
With a few simple tricks the usage of common kitchen gear, it’s smooth to make delicious selfmade the way to Make Hummus without A food Processor?. The main method is to boil the chickpeas until very gentle in order that they almost soften into a smooth puree whilst mashed. A potato masher or huge fork works properly for this manual mashing approach. you may want to install some elbow grease, but the stop result will provoke.
Mastering Easy No-Food-Processor Hummus
Smooth pureed hummus relies on fully softening the chickpeas during cooking. Boil dried or canned beans until falling apart tender. This allows them to break down into an easily mashable paste. The more cooked the beans, the silkier your finished hummus.
Airy and Smooth Hummus Without a Machine
Getting the perfect fluffy texture in hummus is possible without appliances. The secret lies in whipping air into the bean mixture with some vigorous elbow grease during mashing and stirring. Mash and beat the chickpeas aggressively with a fork or masher to introduce lots of air bubbles.
Continuing to aggressively stir as you add in the remaining ingredients maintains those bubbles and light texture. You want to churn the hummus vigorously for several minutes. Scrape down the sides of the bowl continuously to ensure even incorporation of flavors into every bite. If still too stiff, add a touch more oil or lemon to loosen.
The Key to Great Hummus Texture Without a Processor
Achieving ideal creaminess in homemade hummus is doable sans food processor. The key lies in cooking the chickpeas until extremely soft all the way through. They should melt into mush with barely any whole beans left when mashed. This softness allows for easy blending by hand.
Start by boiling canned or dried chickpeas for an extended time – up to an hour or more if needed. Test frequently, removing beans with a spoon and mashing between fingers. When beans completely fall apart and dissolve into a smooth paste with gentle pressing, they’re ready for your machine-free hummus.
Mashing Method for Machine-Free Hummus
With properly soften chickpeas, dump the beans into a bowl ready for seasoning and mashing. Add in tahini, lemon juice, olive oil, garlic, cumin, salt and pepper to taste. Then grab a heavy-duty fork or handheld potato masher for the manual work.
| Step | Instructions |
| 1 | Cook chickpeas until very soft all the way through, so they fall apart easily when pressed between fingers. |
| 2 | Drain cooked chickpeas and place in a bowl. Add tahini, olive oil, lemon juice, garlic, cumin, salt and pepper. |
| 3 | Use a potato masher or large heavy fork to mash the chickpeas into a coarse paste. Apply plenty of downward pressure. |
| 4 | Continuously stir the hummus blend with a strong circular motion to fully incorporate all ingredients. |
| 5 | Aggressively beat the mixture for 3-5 minutes total to introduce air and achieve a smooth, creamy texture. |
| 6 | Scrape down the sides of the bowl while stirring to ensure thorough blending. |
| 7 | Taste and adjust seasoning if needed before serving. |
Mashing by hand builds upper body strength while crafting luscious hummus. Aggressively beat the bean mixture with an up-down pressing motion to break down any remaining whole chickpeas. Then vigorously stir with a strong circular motion to fully incorporate all ingredients into one emulsified blend. The stirring action introduces air for a fluffy end result.
Optimizing Chickpea Cooking for Purees
Achieving an uber-smooth hummus texture without mechanical blending starts with getting the chickpea texture just right. Boil dried beans until extremely supple throughout. For canned, boil to reduce any firmness and impart creaminess.
Test doneness frequently. Squish heated chickpeas between fingers or fork tines. They should practically dissolve into mush with no bite left. If any beans retain shape during squishing, boil longer until beans completely break down and turn into smooth paste when pressed. Proper bean softening makes hand mixing easy.
Tricks and Substitutes for Blending By Hand
Blending hummus to creamy perfection without a food processer employs some unconventional techniques. The goal is to whip tons of air into the bean and tahini mixture through aggressive stirring patterns. Mash the initial chickpeas vigorously, then beat the entire mixture as you slowly drizzle in olive oil.
Scrape down the sides of the bowl continuously while churning the hummus to ensure total incorporation. You want to whip it similar to the motion for making stiff peaks in egg whites or heavy cream. The longer the stirring, the lighter and fluffier the hummus for a machine-free method. Consider adding an extra splash of lemon too.
Equipment-Free Strategies for Smooth Purées
A perfectly smooth hummus consistency uses some top tips for blending by hand. Start with chickpeas boiled into total tenderness and easily crumbling between fingers when squeezed. Drain, then mash aggressively with a masher or fork to break up any remaining bean pieces before adding other ingredients.
Once assembled, stir the hummus in a rounded bowl with high sides to create a vortex for extra aeration. Switch between clockwise and counterclockwise motion to fully integrate flavors. Scrape sides continuously while beating for 3-5 minutes total. The longer the active stirring, the silkier the end result no machine required.
Flavor Your Hummus Like a Pro, No Machine Needed
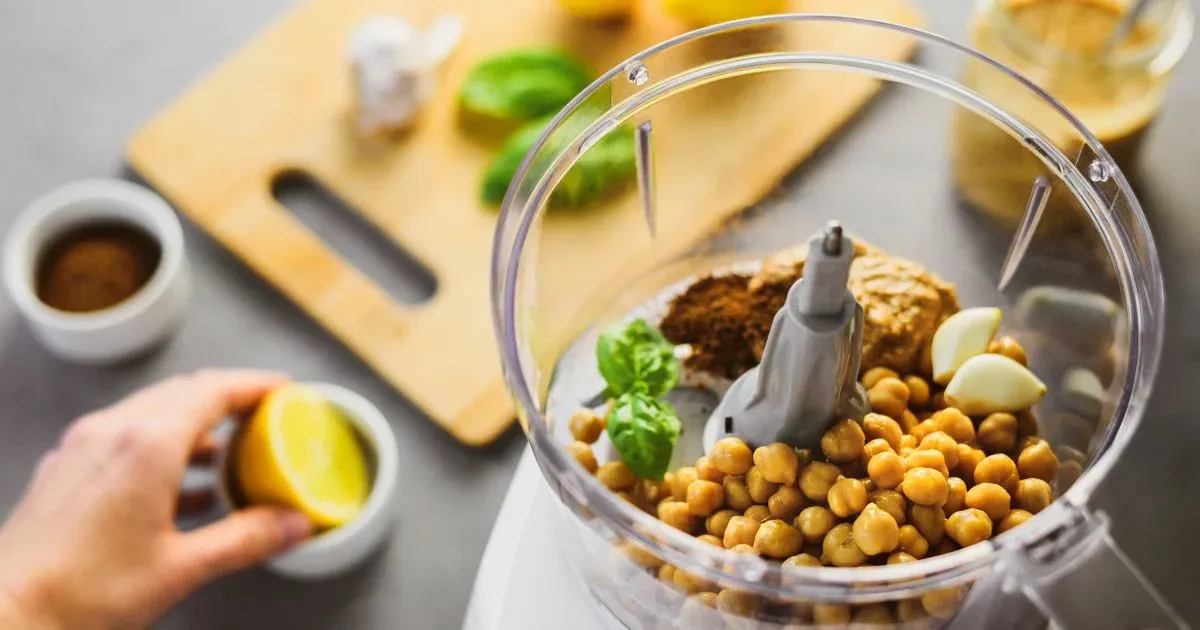
While hand blending hummus requires some work, seasoning it like a pro is much easier. Start with high quality extra virgin olive oil and an abundance of lemon juice for a bright flavor. Add at least two large pressed garlic cloves for punch.
Then layer in savory flavor with a generous touch of cumin and paprika. A sprinkle of cayenne pepper also brings enjoyable heat. Finally, balance with salt and pepper to taste. Swirl in extras like roasted red peppers or pan-fried onions to take your appliance-free hummus to new heights of flavor. The options are limited only by imagination.
Hummus Done Right: Master These Simple Techniques
Perfect hummus using manual methods isn’t difficult, but does use some key techniques. First, boil chickpeas into total tenderness – the softer, the better. Mash beans aggressively before stirring in other wet and dry ingredients. Pour in liquids slowly while beating vigorously to emulsify.
The key is constant motion, vigorously whipping the hummus as you would heavy cream. Scrape the sides to ensure total incorporation. You want to churn the hummus for at least 3-5 minutes. The longer the active stirring, the lighter and creamier the final texture will be sans machine. Just a bit of elbow grease makes excellence attainable.
Successfully Swapping Tools for Delectable Dips
With a simple toolbox, everyone can produce smooth and creamy hummus minus the electronics. A heavy pot, slotted spoon, fork, potato masher, bowl, and some bicep power get the job done. Start by boiling chickpeas fork-tender.
Then drain and mash before adding remaining ingredients. Employ that fork and masher to aggressively whip the hummus for several minutes while incorporating liquids. The manual churning action aerates and emulsifies the dip for silkiness straight from the stove. A few tests yield tricks to optimize texture. Soon your from-scratch hummus impresses like a gourmet.
Forget the Appliances: Tips for Pureed Perfection
Don’t let a lack of modern appliances deter homemade hummus. This ancient dip predates blenders, yet achieved velvety richness. With simple kitchen tools and some strategic elbow grease, you can too. For creamy bean purees, start with fork-tender chickpeas.
Then mash aggressively before beating in other wet and dry ingredients. Whip the mix vigorously as if making stiff peaks. Scrape the sides to fully incorporate. Churn for at least five minutes for light and fluffy results no machine required. A bit of stirring effort means everyone gets to enjoy hummus perfection appliance-free.
FAQs
What can I use instead of a food processor for hummus?
A potato masher, massive fork, or spoon may be used to mash chickpeas to make hummus without a meals processor.
How to make hummus without a mixer?
Boil chickpeas until very soft then mash well by hand, adding tahini, olive oil, lemon, and spices and stirring vigorously to blend.
How was hummus made before food processors?
Hummus was made manually using mortar and pestles to mash and grind ingredients before food processors were invented.
Conclusion
For many hummus lovers lacking a food processor, homemade versions of this popular Middle Eastern dip seem out of reach. However, achieving a light and silky-smooth hummus texture without a blender or appliances is completely achievable. With some strategic boiling, mashing, and old-fashioned elbow grease, you can easily emulate machine-made hummus from the comfort of your own kitchen.
The keys to success involve cooking the chickpeas until extremely tender all the way through, then aggressively mashing them before mixing in the additional ingredients like tahini and olive oil. Vigorously whipping the hummus by hand introduces air for fluffiness while the constant stirring ensures thorough incorporation for creaminess in every bite. The longer you aggressively beat the mixture, the lighter your finished hummus.
While appliances may make hummus processing easier, they are by no means necessary. With the simple guidelines provided, anyone can churn out smooth and flavorful homemade hummus to rival any store-bought version. All you need are some basic kitchen tools and the willingness to put in a little stirring work. So don’t hesitate to embark on your own appliance-free hummus journey.